

This lesson is made with PSPX9
But is good with other versions.
© by SvC-Design
Materialen Download :
Here
******************************************************************
Materials:
Betsie 62-misted-2013.psp
MarieL_2007_10Octobre_smoke01t.psp
Marif_2007_07Juillet_misted_decor0191.psp
tubeclaudiaviza-mujer3169.psp
******************************************************************
Plugin:
plug-in - Graphics plus - Cross Shadow
Plugins - Flaming Pear - Flood.
******************************************************************
color palette
:
******************************************************************
methode
When using other tubes and colors, the mixing mode and / or layer coverage may differ
******************************************************************
General Preparations:
First install your filters for your PSP!
Masks: Save to your mask folder in PSP, unless noted otherwise
Texture & Pattern: Save to your Texture Folder in PSP
Selections: Save to your folder Selections in PSP
Open your tubes in PSP
******************************************************************
We will start - Have fun!
Remember to save your work on a regular basis
******************************************************************
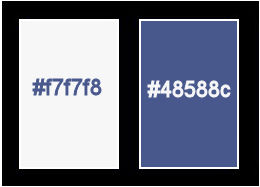
Foreground: #f7f7f8
Background: #48588c
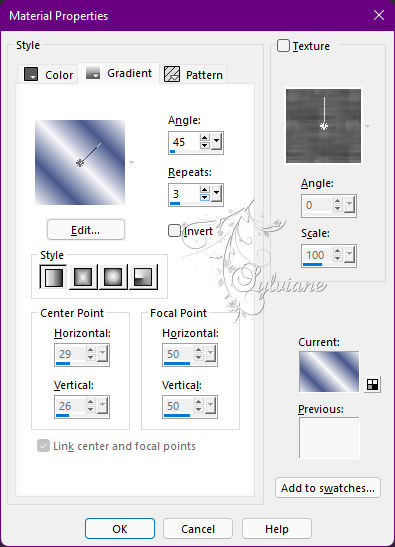
Course: linear - angle 45 - repeat 3
1.
Open a new transparent image 900 x 650 px.
Fill with gradient.
Adjust - Blur - Gaussian Blur 25.
2.
Open Betsie 62-misted-2013.psp
Edit – Copy
Edit - Paste as new layer
Move her a little to the right.
Set the Blend Mode to Soft Light and the Opacity to 65.
3.
Open tubeclaudiaviza-mujer3169.psp
Edit – Copy
Edit - Paste as new layer
Resize 80%, resize all layers unchecked.
Put her on the left, not all the way down
Effects - 3D Effects - Drop Shadow
15/15/50/25 color:#000000
4.
Open MarieL_2007_10Octobre_smoke01t.psp
Edit – Copy
Edit - Paste as new layer
Resize 80%, resize all layers unchecked.
Put it as in example.
Layers – arrange – move down
Effects - 3D Effects - Drop Shadow
5/5/50/15 color:#000000
5.
Activate the top layer.
Open Marif_2007_07Juillet_misted_decor0191.psp
Edit – Copy
Edit - Paste as new layer
Image - Mirror – mirror Horizontal
Put her right against the side, see my crea.
Set the Blend Mode to Luminance and the Opacity to 44.
Layers – arrange – move down and repeat down 1 more time.
6.
Layer – merge – merge all (flatten)
Image - Add Borders – Symmetric - 3 px – color: background
Image - Add Borders – Symmetric - 25 px – color: foreground.
Select the white border and fill with gradient.
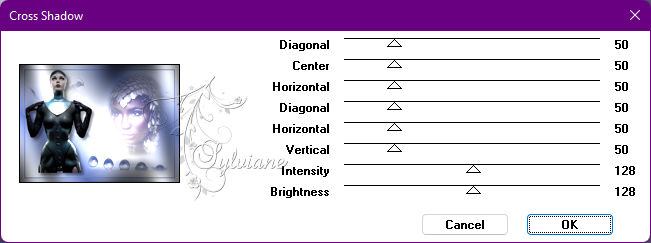
plug-in - Graphics plus - Cross Shadow - default
Effects - texture effects - blinds

Selections - select none
Image - Add Borders – Symmetric - 3 px – color: background
7.
Now put your name on your creation – put it in the border.
Layers – merge – merge down
Resize image 600 px longest side.
You now have this.
8.
Activate selection tool on rectangle.
Draw a selection.

Layers duplicate 2x.
Close the 2 bottom layers and activate the top layer.
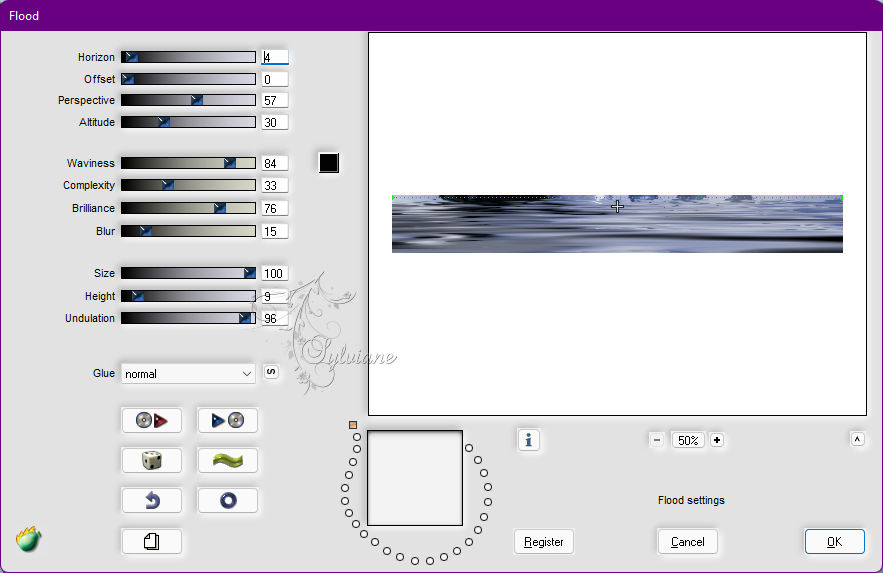
Plugins - Flaming Pear - Flood
Close the top layer.
Open the layer below and activate.
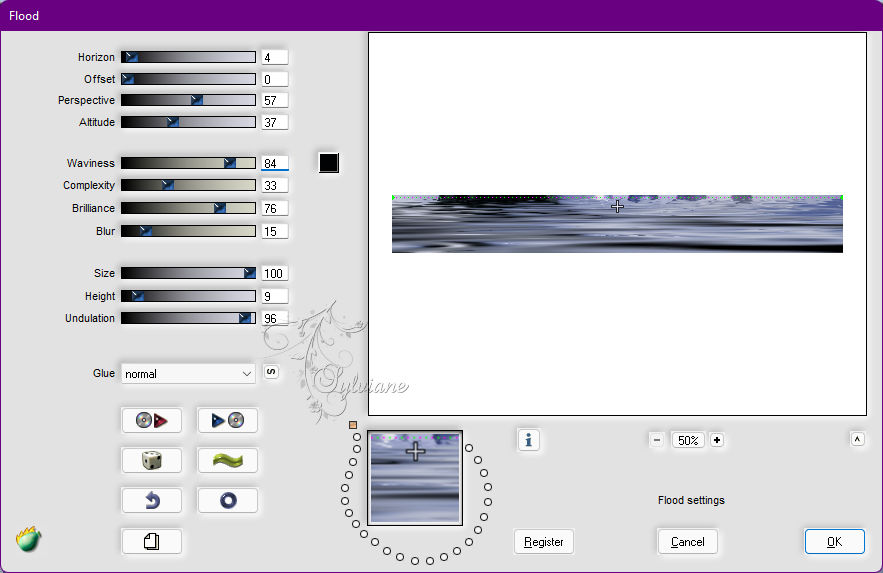
Apply the filter - set attitude to 37 the rest stays
Close the middle layer and open the bottom layer.
Apply the filter - set attitude to 44 - the rest stays

Selections - select none
Open all layers.
Save your work as a psp animation. Save it so that you can find it again.
9.
Open animation shop - click on the yellow folder and find your creation that you just saved.
Open - select all.
Animation properties for frame at 60
Check if your animation is running properly .
Leave this for a while.
10.
Go back to psp.
Open new transparent image of 400 x 100 px.
Find a nice font – I took Magneto size 48.
Close your foreground and type the text Illusion.
Convert layer to raster layer
Layers - Merge - Merge visible layers
Copy and paste into animation as new animation.
Activate your creation
Selection - Select All
Click Repeat Paste at the top of the bar.
Now drag your text with the left mouse button pressed to a nice place in the first frame of the creation and let go.
Now your text is in the 3 frames of your creation if all is well.
Click on preview again and if everything goes well .
Then save your work as a GIF.
Back
Copyright Translation © 2022 by SvC-Design